Teaching emacs to display Flutter UIs
So let’s set the scene. I was in Shanghai early for IO Connect Shanghai. I had grand plans of trying to explore the city a bit despite a level of Chinese that could fit comfortably on a Post-It. But I’m good at Alipay and context clues so I thought I was all good. Typhoon Dolphin had different plans. Safe from flooding but very vulnerable to getting soaked if I tried to do anything outside for more than ten minutes, all I had was time until the weather broke.
Earlier in the year, I had seen a couple of posts from Xenodium demonstrating a SwiftUI org-babel extension to could render blocks of code. Making a version that worked with Flutter had been on my to-do list for a while, now I had the time.
Porting to Flutter
The SwiftUI version is pretty simple, it scaffolds a mini application around what the user inputs, runs the app, and executes a timer to capture an image. All in a single elisp file. My easy first step was to make a small test app to mimic the features. The next bit, contending with emacs lisp, was a lot harder to do manually. I haven’t touched Lisp since college and remember nothing but the parentheses and chained recursion. And good luck on knowing the API space to do things other than setting a variable.
No matter, I could Gemini and Antigravity to help.
Looking at the bits and pieces I wrote and could reference from the inspiration, I essentially had an detailed one-shot prompt consisting of a Flutter implementation of the test app and the full ob-swiftui script for Gemini to template from. I was able to match most features from the original package with a couple flaws. Compile time was pretty long and the app window that obscured the editor. The script was spinning up a regular Flutter app with build time penalties and loss of window focus. After falling into a bad state with Gemini as I tried to solve smaller parity issues, I threw everything away except for the spec of features. I let Antigravity pick how it would implement versus being prescriptive and it settled upon a novel approach use golden tests to capture screen shots. After a bit more encouragement, it sorted how to inject fonts to make the test UIs look close to running normally. You have to pre-declare the fonts you will use so for this first round of implementation, all text will be Roboto. Using golden tests in this way meant I could no longer create an app window per se. I looked into doing background buffers but it didn’t seem to be easy to do in a cross-platform way without reintroducing a lot of latency. So I chose speed and portability over full parity.
With the extension and an existing Flutter install, I can run C-c C-c in a code block and the code snippet will get copied into a sample project, execute the testing framework, and save a image. That image gets injected into the existing Org file.
So why did I make my own instead of just using Flutter Widget Previewer that’s in stable as of 3.47 or DartPad? A lot of the code I write for videos and presentations is usually self-contained and visual. It’s more convenient to have the code live along side the prose I’m writing.
The ob-swiftui package is GPL3.0. So my code is too as it’s a derivative work.
You can find install instructions and the code repository here.
Usage
To insert a UI, you need a fenced code block with flutterui as the identifier, file as the target (:results file), and the name of the file to save (:file <filename.png>).
Below is the code to draw a single Text widget.
#+begin_src flutterui :results file :file test.png
Text("Hello World", style: TextStyle(fontSize: 48))
#+end_src
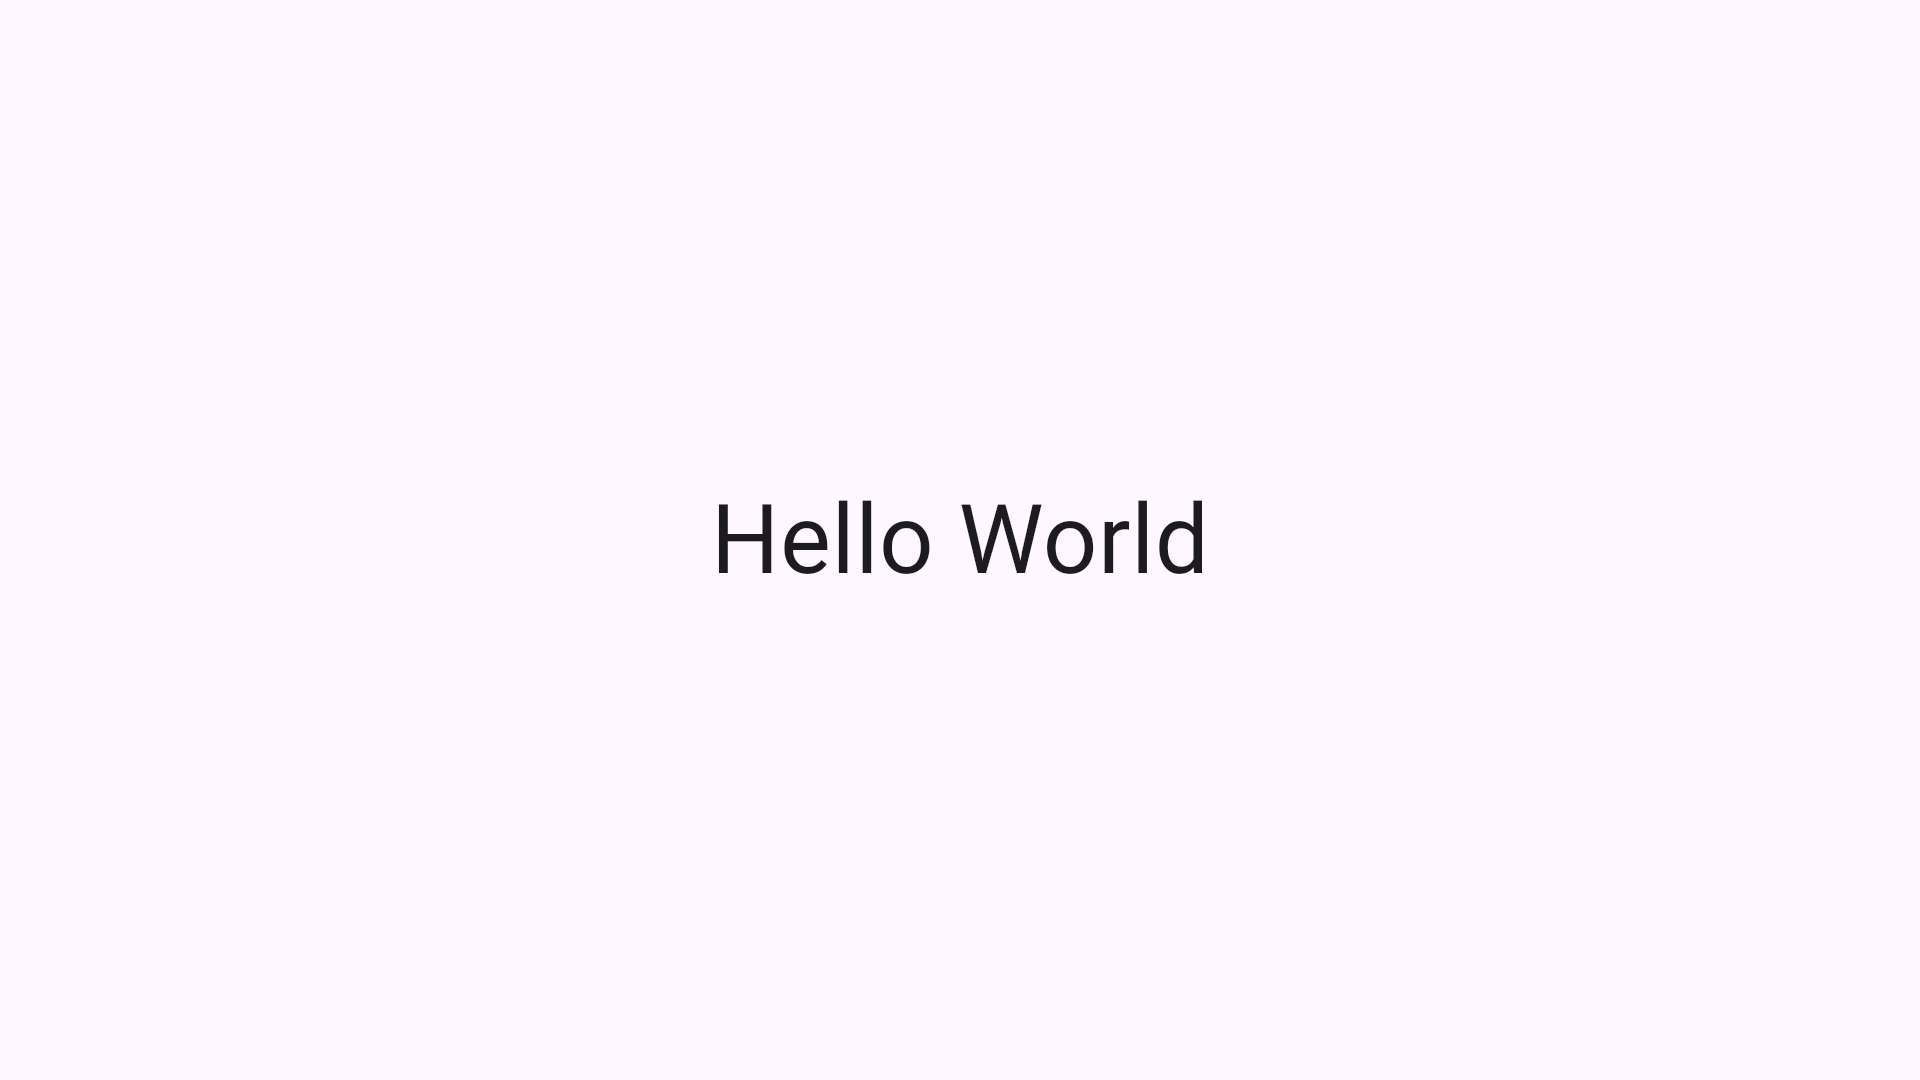
If the default image size is too large (1920 w x 1080 h), you can use the :width and :height properties to set dimensions.
#+begin_src flutterui :results file :file setdimens.png :height 500 :width 600
Column(
  children:[
    Text("Sample Text", style: TextStyle(fontSize: 48, color: Colors.green)),
    Icon(
      Icons.audiotrack,
      color: Colors.blue,
      size: 30.0,
    ),
Text('Hello Org Babel!', style: TextStyle(fontSize: 48, color: Colors.purple))
])
#+end_src
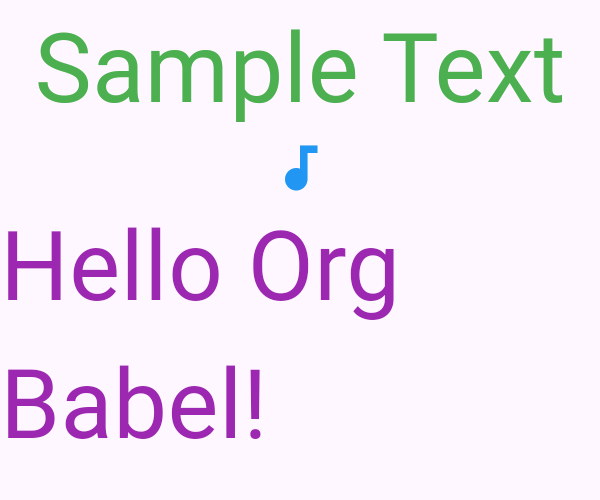
The default setting is use a Center widget as the parent of whatever is input. The script can use any artibrary widget as the root, including new classes. The one caveat is the package assumes there is a no-arg constructor.
Here’s an example of generating a UI in DartPard using Gemini and copy-pasting the contents over to emacs:
#+begin_src flutterui :results file :file ./weather.png :view WeatherScreen :width 600 :height 600
class WeatherScreen extends StatelessWidget {
  const WeatherScreen({super.key});

  @override
  Widget build(BuildContext context) {
    return Scaffold(
      backgroundColor: Colors.blueGrey[50],
      body: Center(
        child: WeatherWidget(),
      ),
    );
  }
}

class WeatherWidget extends StatelessWidget {
  // Static values for the widget
  final String cityName = "San Francisco";
  final String temperature = "72°F";
  final String condition = "Partly Cloudy";
  final IconData weatherIcon = Icons.wb_cloudy;

  @override
  Widget build(BuildContext context) {
    return Container(
      width: 300,
      padding: const EdgeInsets.all(20),
      decoration: BoxDecoration(
        color: Colors.blueAccent,
        borderRadius: BorderRadius.circular(20),
        boxShadow: [
          BoxShadow(
            color: Colors.black26,
            blurRadius: 10,
            offset: Offset(0, 5),
          ),
        ],
      ),
      child: Column(
        mainAxisSize: MainAxisSize.min,
        children: [
          Text(
            cityName,
            style: const TextStyle(color: Colors.white, fontSize: 24, fontWeight: FontWeight.bold),
          ),
          const SizedBox(height: 15),
          Icon(weatherIcon, size: 80, color: Colors.white),
          const SizedBox(height: 10),
          Text(
            temperature,
            style: const TextStyle(color: Colors.white, fontSize: 48, fontWeight: FontWeight.bold),
          ),
          Text(
            condition,
            style: const TextStyle(color: Colors.white70, fontSize: 18),
          ),
        ],
      ),
    );
  }
}
#+end_src
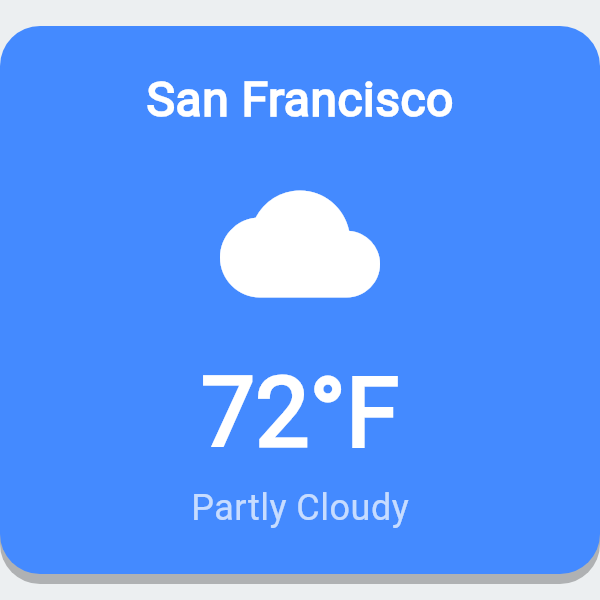
Not bad for a fifty year old IDE.